So this past week I was introduced to Warmachine.
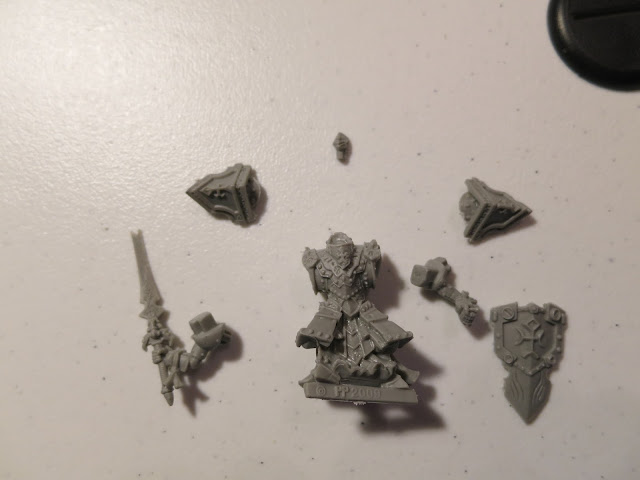
Warmachine is a tabletop minis war game, in which two armies from a fantasy steam punk universe duke it out. As my mom so aptly put it, "Oh, so it's expensive army men." Pretty much...
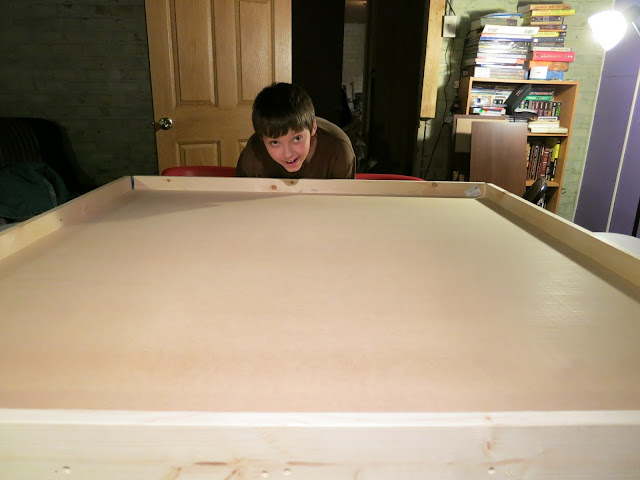
Well, I'd ordered the Two-player battle box, which comes with enough units to field two small army groups. One for me, one for my son. Kids make a great excuse to get into a new expensive hobby. After all, it's father-son time, though my daughter has already informed me that she wants her own army too. So knowing we'd need an area to play, I went about researching to make a table for us to use.
A standard Warmachine game takes place on a 4'x4' play area. Sure I have two 6'x2' tables in my game room, so I could just put them together, but I wanted a surface that fit on one of the and was the proper size. I went in with a few goals.
- Spend as little as possible. Serious war gamers may scoff at the notion, but I didn't want to spend a bunch of money as the game could honestly be a bust with my son. I don't foresee that happening, but I also didn't want to spend a ton because it was going to be done as a family project and it's been awhile since I've done any construction.
- Slightly modular. I didn't want to put the terrain surface directly on the base board as I plan to use this for more than just Warmachine (Wings of Glory and X-Wing, for instance) so I wanted to put a lip around the outside then place tiles inside that had the terrain surface on them instead.
I figure that if the game is a hit, we'll eventually build another table, but for now what we came up with will do.
So this is the wood I bought, most of it was really cheap.
- 1x 4'x4' board for the base
- 2x 2'x2' wafer board for the tiles
- 4x 4"x4'x1" planks to rim the outside of the base (slight mistake here!)
- 1x 1"x8'x1/2" furring strip, cut in half to use as a support
Now, with the planks I purchased, I didn't even think about the fact that I'd end up with corners. I'll have to figure out a good way to fill those in. Anyway, construction is pretty simple.
In between putting this together, we were also getting ready for something else.
We'd be using the glue and the cheap paintbrush to put the sand onto the wafer boards. But first we had to prepare the sand.
Why prep the sand? Well, when you buy sand, it's generally decently wet. Wet sand tends to clump a lot, so we would take a bowl of sand and put it under the hair dryer until it was dry enough to fly everywhere. We figured that was a good indication of dryness. After it was dry, we'd put down a bunch of glue in about a quarter of a board, spread it around, then put the sand on top.
You probably noticed that I lined the wafer boards with duct tape. Since wafer board can be a bit rough around the edges, I decided to line it. Eventually the boards were done and I let them sit overnight to really dry, figuring I'd knock off the excess sand and repeat putting sand down in the morning if necessary.
 |
| This was at the end of the night |
So after knocking the excess off in the morning, there were multiple spots where the blue hadn't been spread very well so there wasn't any sand. I had used the entire bottle of Elmer's Glue, so I took a 4oz bottle, cut it with water, and tried a different tactic on these parts. Instead of pouring glue, I took the brush and just spread it onto the empty areas. And instead of kind of gently sprinkling the sand on, we just packed it down onto the glue. I have a sinking suspicion that the sand may have actually absorbed some of the watered down glue, but I'll give it a few hours then knock off the excess again. If it ends up being a failure, then I'll chalk it up to a learning experience and get one of these.


